It’s About Time … and Weight!
When I was down in Florida last winter and spring I decided it was time to do something about my waistline. About time I hear you say! To that end I started to use the gym at the clubhouse on a regular basis. The equipment I used was a Landice treadmill and it has some particularly nice features. Specifically, several automatic programs to vary speed and incline. I got very comfortable with one of the programs and the project to loose weight seemed to be working. 35 minutes and about around 250 calories a day was a reasonable target that I was able to achieve most days.
The Problem With Our Treadmill
When we returned to New England I had every plan to continue the regimen on our Bodyguard T200 treadmill, which I had never used up to then. But I found that its programming features were woefully inadequate and it was miserable to use. So what to do?
The Solution
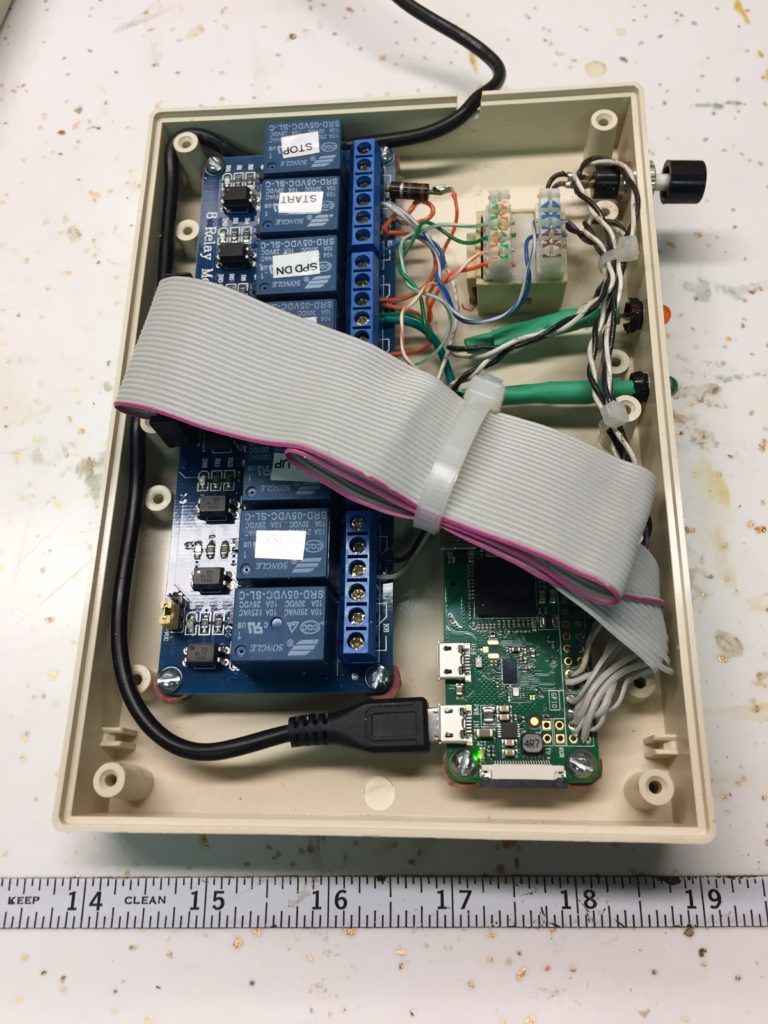
I had been recently given a Raspberry Pi computer. What’s that you say? It a remarkable little computer fully capable of running the Linux operating system but is tiny and cheap. As you can see, it’s bare-bones, but is ideal for developing a control system and comes complete with a program to make that possible. After some initial study I was pretty sure I could develop a controller that would interface with our treadmill and make it do what I want. The goal was to put it into Manual Mode and have the computer “press the buttons” for me. To that end I purchased an eight channel relay board to interface with the computer and simulate pressing the various buttons like Start, Stop, Speed Up, Incline Down, etc on the treadmill.
Programming The Pi
The computer’s operating system comes with a very nice programming language called Node-red, developed by IBM, that makes the programming of the computer as a controller very easy. After a reasonably light learning curve I had something working and, after some general tidying up had a usable system. If you’re playing with Node-red you can download and import the resulting flow from here. The full Raspberry Pi shown above was overkill for the project so I purchased a Pi Zero W. This is a stripped-down version but still has all the functionality I need, including WiFi and a General Purpose Input/Output (GPIO) strip. Remarkably it also has an HDMI output, USB socket and a camera connector, none of which I needed for this project. It’s tiny and only costs $10 (£7.57). It’s hard to image how they pack so much functionality into such a small space and at such a low cost.
Hacking Into The Treadmill
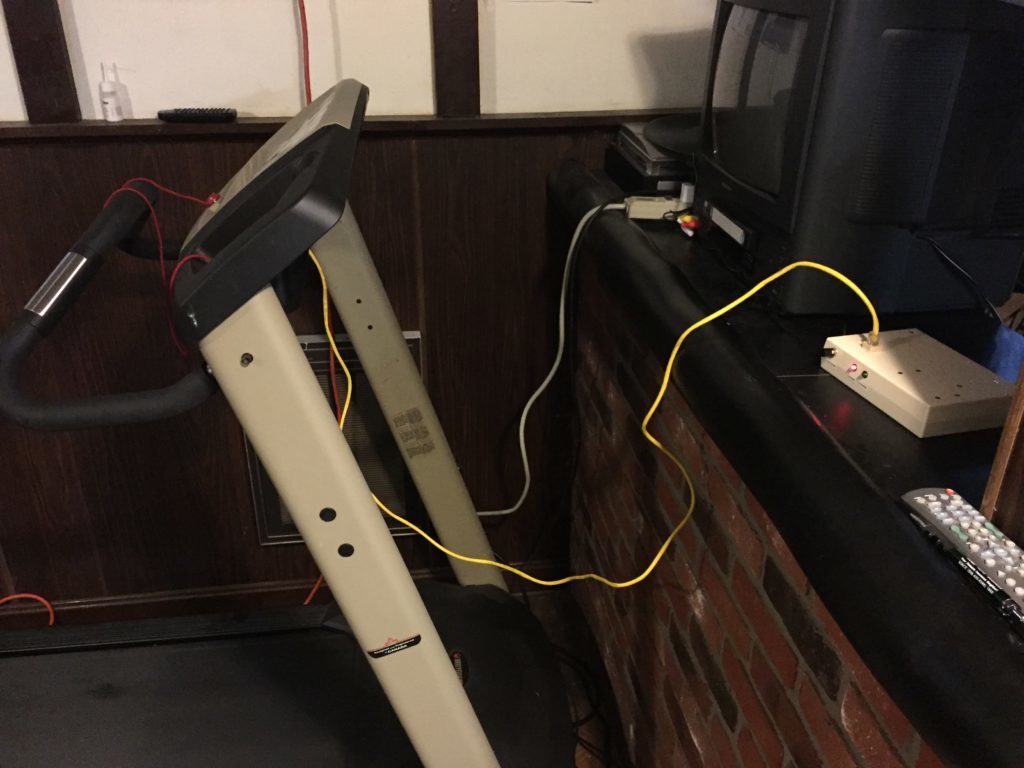
It was fairly easy to tap into the treadmill control panel to gain electrical access to the push-button circuits and these were brought out on a standard Ethernet cable, 6 wires only being needed. A big bonus is that the back panel of the treadmill already had a cutout for an Ethernet plug!
Project Pictures
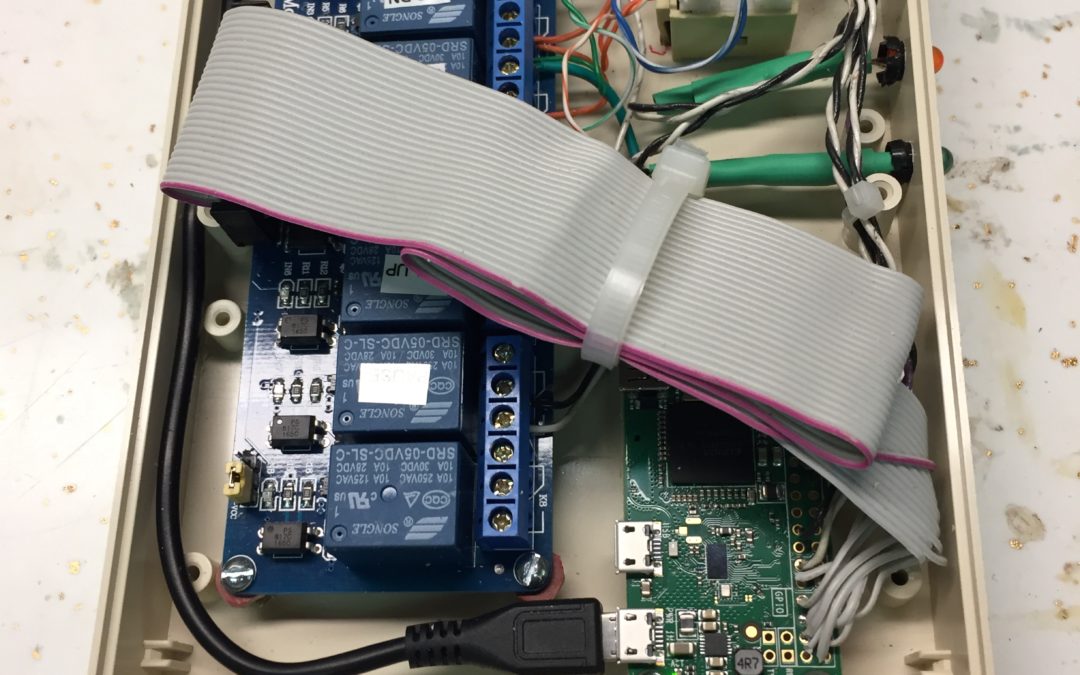
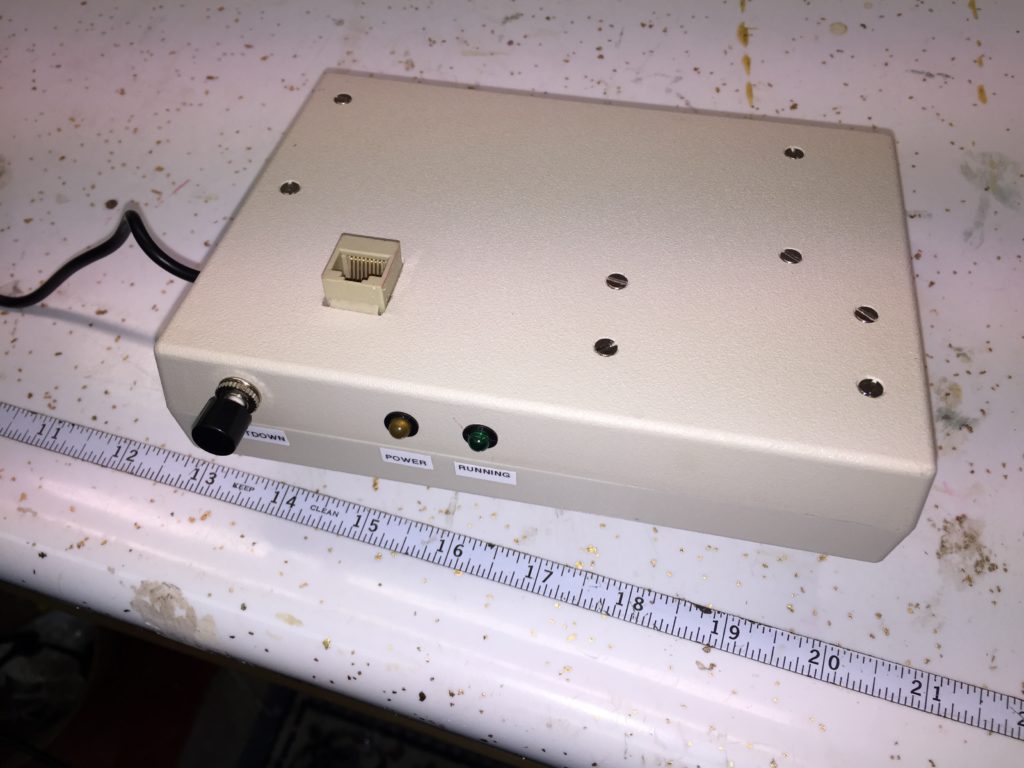
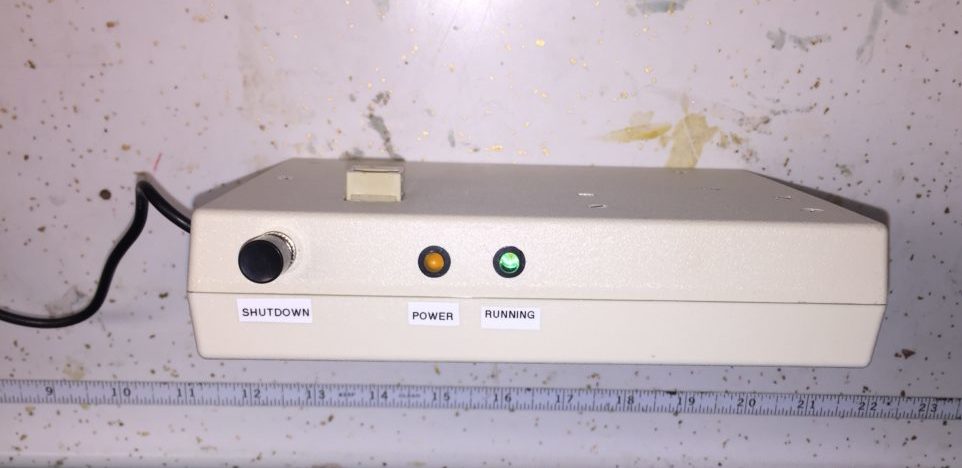
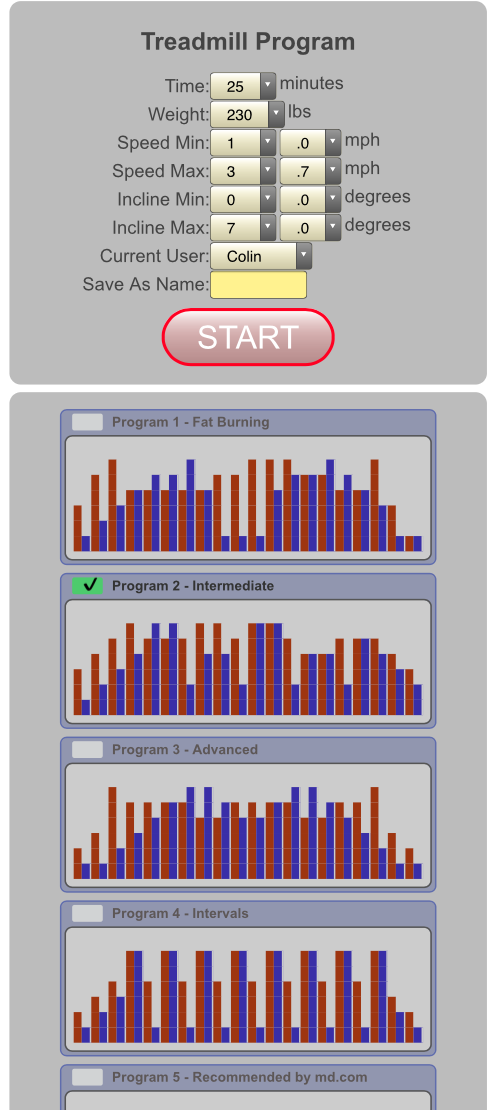
You can see the various views of the hardware on the right here. Each picture can be clicked for a larger view. The web interface shown in the last two pictures indicated that various parameters of the work-out can be set and stored for each user. There a 5 programs already defined, but I can define as many as I want. The red bar is the speed and the blue the incline. The chosen time period is divided into 20 segments.
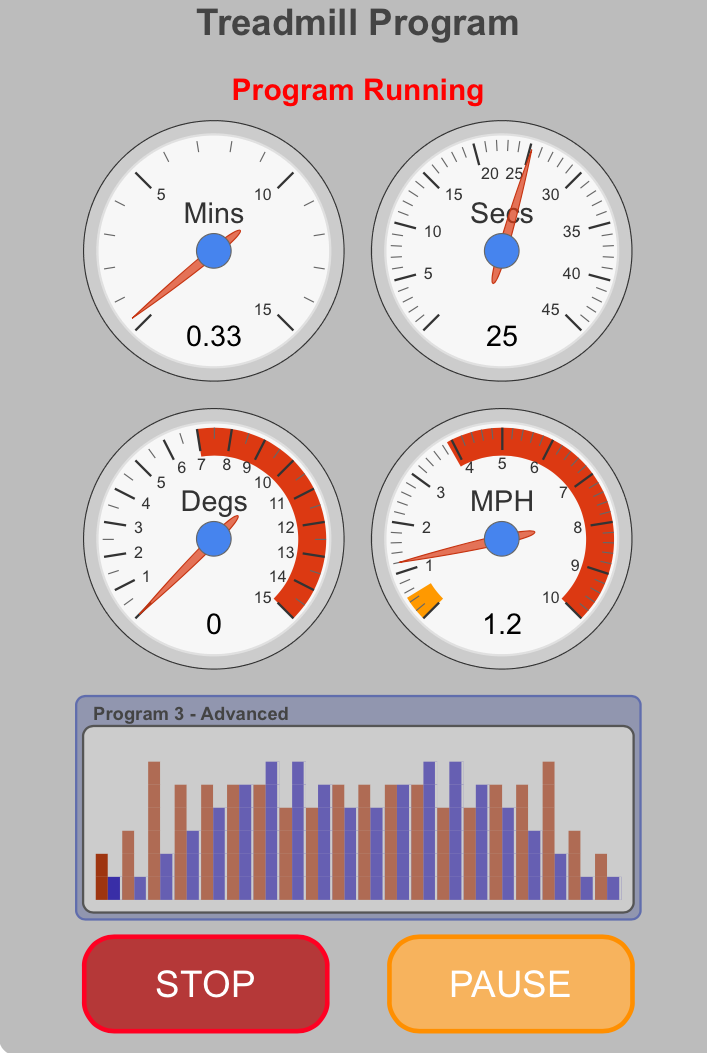
On the next screen, which shows when you press Start, there are dials indicated time into the program, seconds left in the current segment (that one counts down) and the current speed and incline. The colored bands represent the minimum and maximum set in the user’s configuration. The bar graph also indicates at what segment the user is currently at. Finally a Pause and Stop are provided for that purpose.
Summary
So now my treadmill emulates the capability of the one down south and the pounds will now start rolling off! Well hopefully anyway. All in all a very satisfying project.
Please feel to register so that you can comment on this post or ask questions, and share it if you think others might be interested.
Files
If you want to download files related to this project click here. The files are in a ZIP file.
jquery.min.js -> place in your .node-red folder
loader.js -> ditto
treadmill_export.json -> import into Node Red
Treadmill Controller.PDF -> wiring diagram
Please note the following:
- Accuracy of the wiring diagram is not guaranteed, but I believe it is correct.
- Wiring to the treadmill is for you to work out. If your treadmill is a different make or model it may be different from the T200, which has mechanical pushbuttons. I wired to the plug connector between the circuit board and control buttons, if I recall.
- I wired to the treadmill using Ethernet wire. I was able to use 8 conductors because the treadmill switches had a common connection. You may need to run 7 pairs.
- This project used Google Graphics, not the built-in Node-Red dashboard.
- The back-panel in my T200 had a square knock-out obviously designed for an Ethernet connector (nice!)
- The preset programs are configured in a node called Set Globals in an array called programs. (It would be better if these were stored in an external file and read in. ) The increments for speed and incline range from 0-5 in that array, with max, min and step size are also defined in the node at the top.
I am assuming you have electronic and mechanical skills to complete the project, along with knowledge of Node Red.
And of course, you tackle this project entirely at your own risk!



Recent Comments